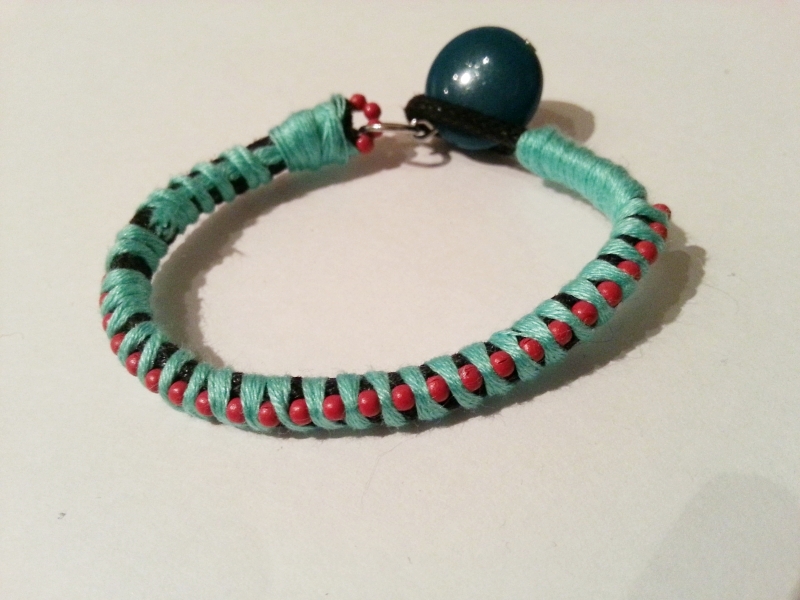
This is a cute looking colourful bracelet, and it's very easy to make!
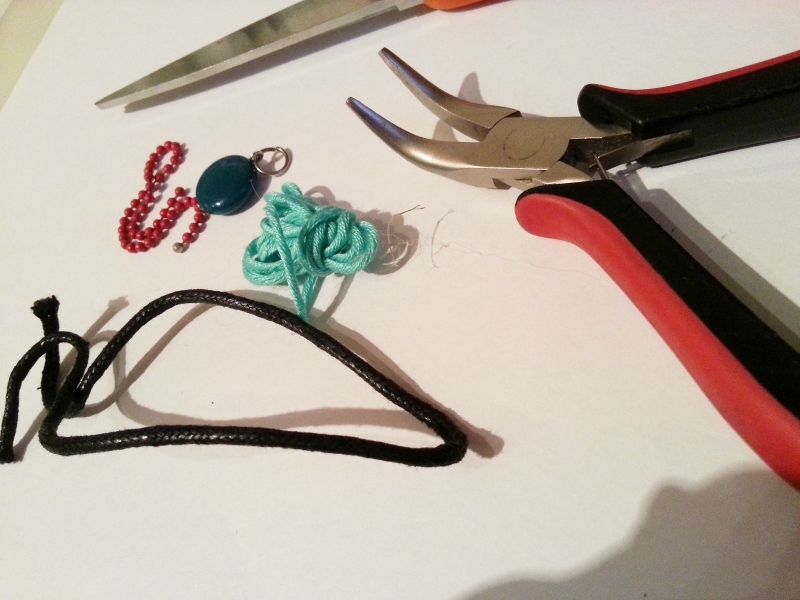
This is what you'll need:
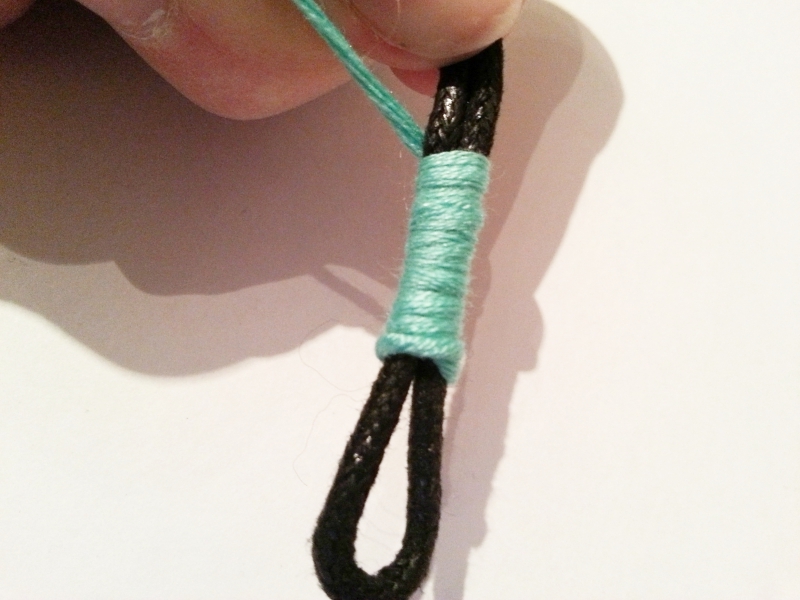
| Ball chain, thick thread (for example leather), thinner thread (for example embroydery yarn), button, charm or bead as a locket, tools. | Start with folding the thickest thread in two and lay the thinner thread on top of it. Start wrapping the thinner thread around the thicker to lock the thinner thread. Make sure to form a loop for closing the bracelet later. Add the ball chain and start wrapping around it, laying the thread between each ball. |
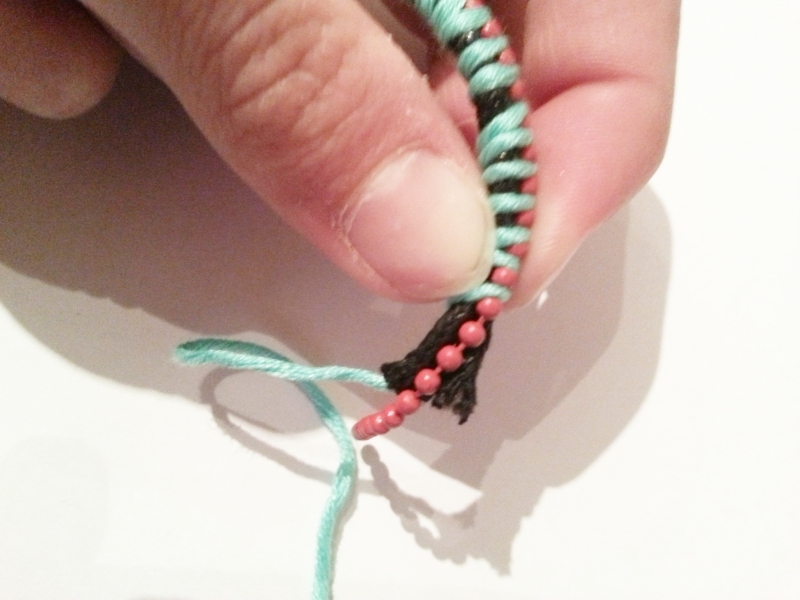
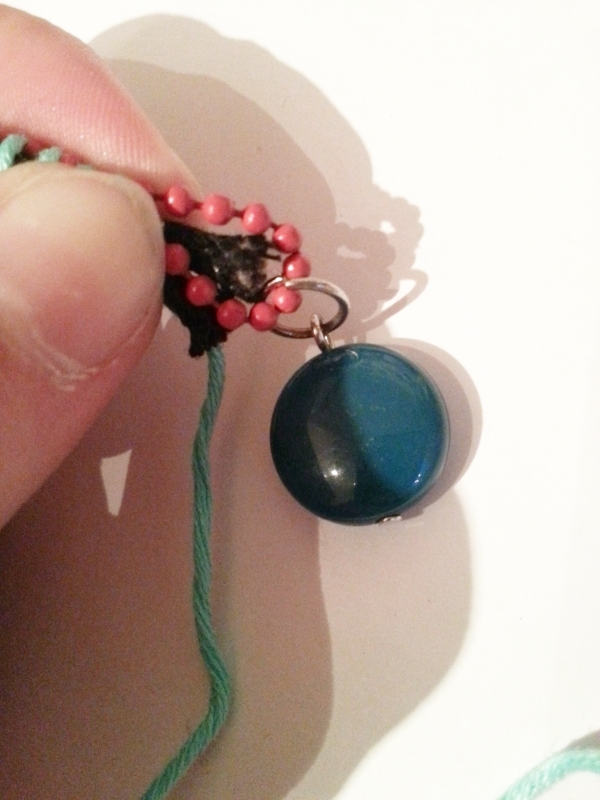
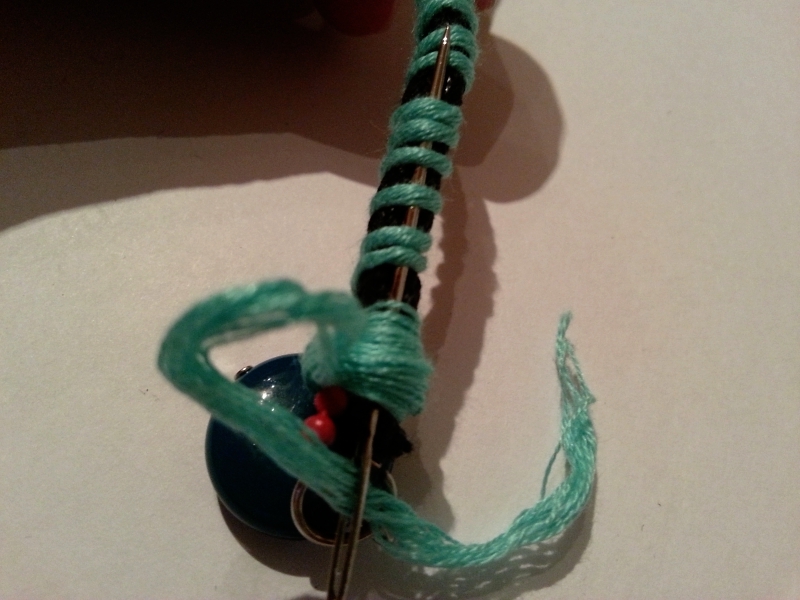
When almost finished, make a loop with the ball chain and ad the charm, button or bead you want as a locket. Wrap around the ball chain and finish bu pulling the thread under itself and locking it. I used a needle to do this.
Finished! Looks great, right?
| Have you ever looked at one of your belongings and thought; Man, why do I even keep this? Well, I thought so about this hairclip. Then I thought; Hey, this is perfectly long enough for making a bracelet!
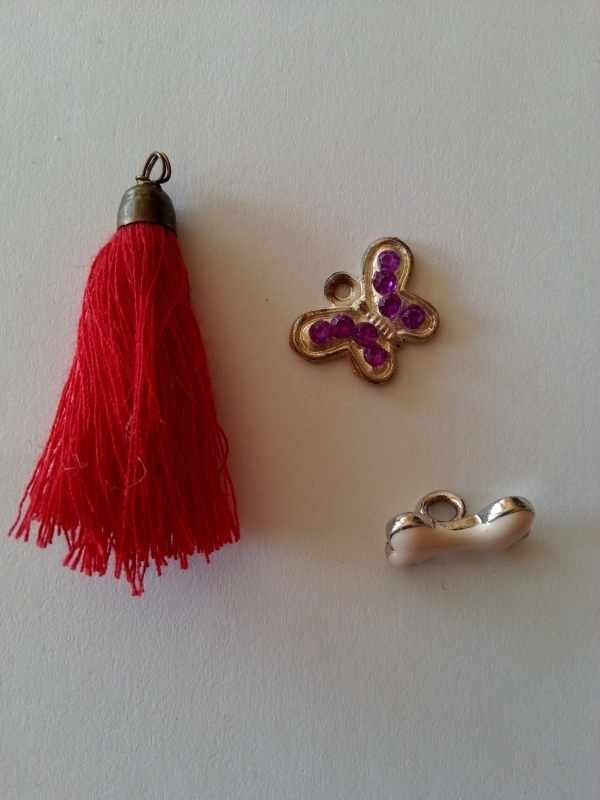
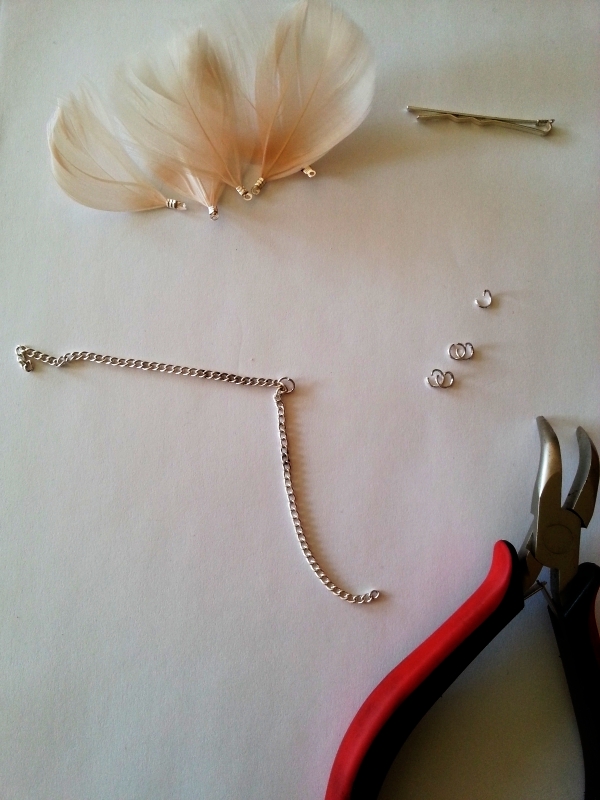
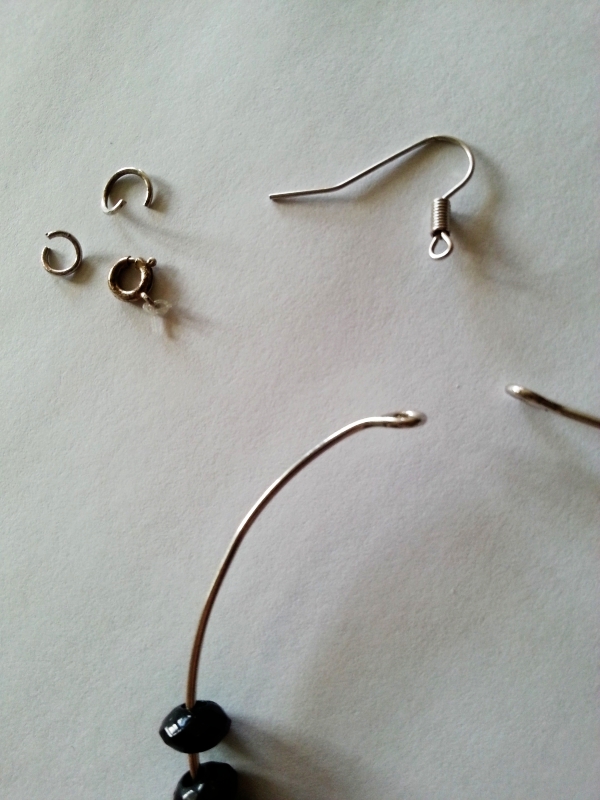
What you'll need to make this charmed bracelet is a chain (does not necessarily come from a hairclip :) ), a kelp, (maybe) some jump rings, a charm (or whatever you'll like to put on it) and a lock of any kind (this time I simply used a safety pin).
First of all, I removed those feathers and the bobby pin on top of the hairclip. I decided to keep, them, they might come in handy later :). Removing them also gave me five jump rings, so I didn't need any jump rings else than those i already had from the clip.
| |
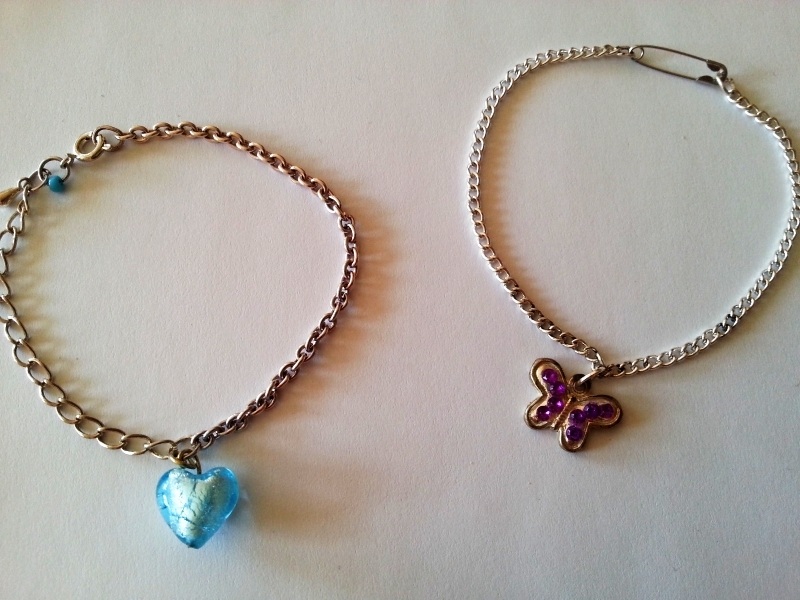
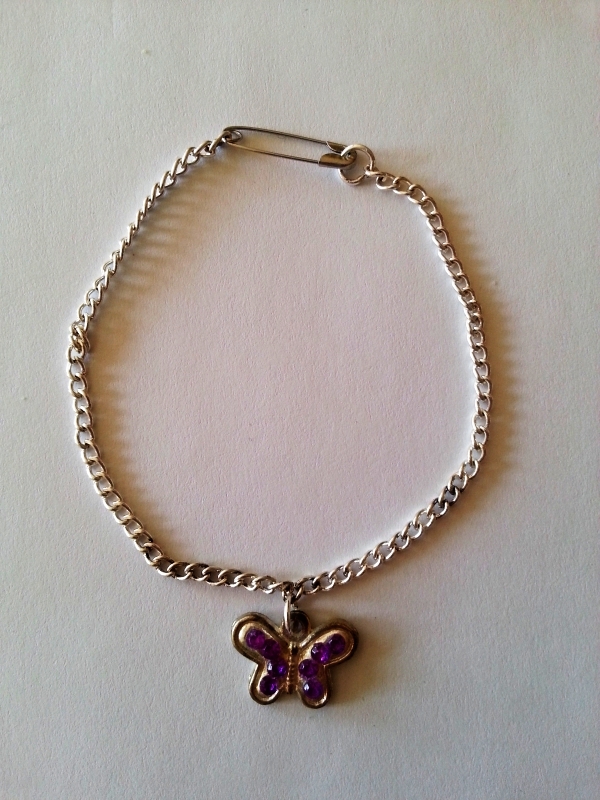
| | I kept the jump ring form the feather in the middle, and I put on a charm. I closed the jump ring, and put on one jump ring in one end of the chain. Then I took a small safety pin (the bracelet was just a little too short, but the safety pin made it perfectly long enough for me) and put on a jump ring at the round end of it. Then I closed the jump ring around the other end of the chain.
That's all!
| |
In the left bracelet at the top picture, I've used two different chains. Those were leftovers form earlier projects :)
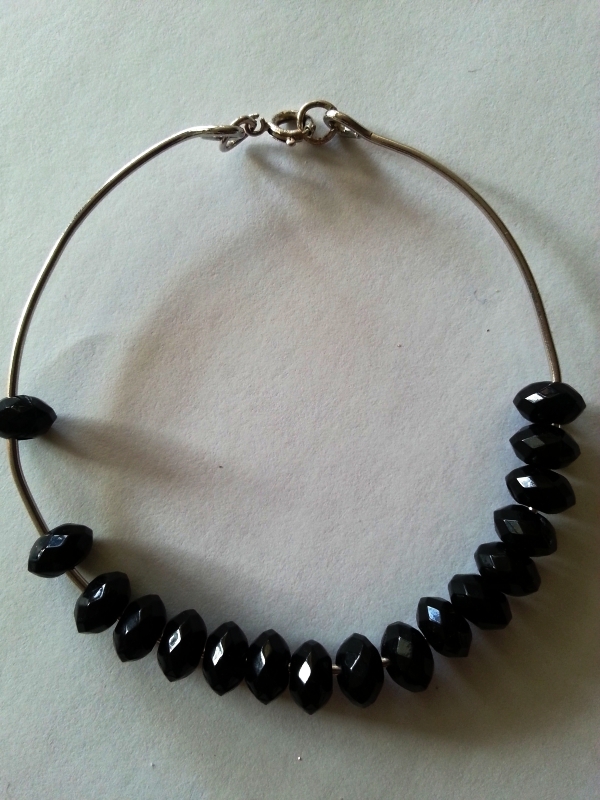
So, I found out that the other earring was missong, and so I thought "Hey, this can be a bracelet!" :)
| You'll need an earring that's wide enough to go around your wrist, two jump rings, a lock of any kind and a kelp or two (to open and close the jump rings)
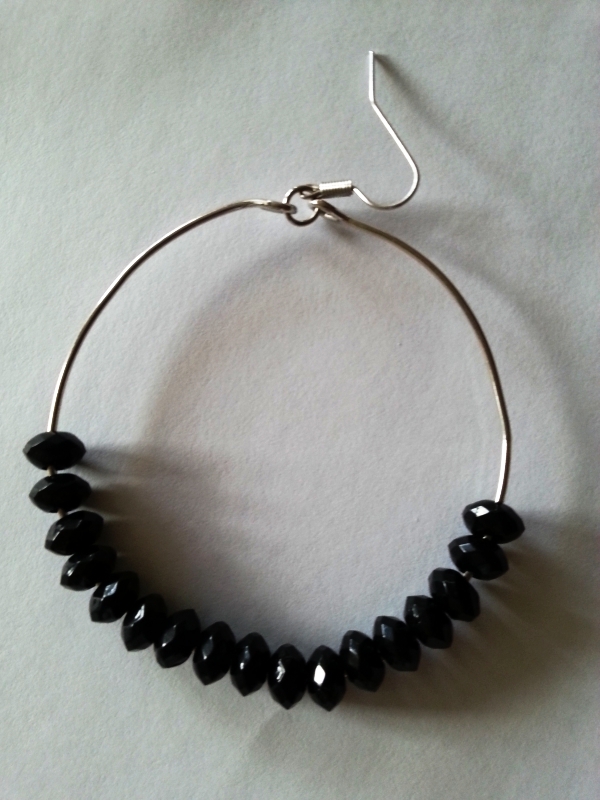
First, I took off the jump ring that kept the earhook in place. Then I took my lock and a jump ring and attached it to the ring. | | |
| | I attached the other jump ring to the other side of the ring, and there, you're finished.
Simple as that! |
These bracelets are so easy to make, and they are super cute!
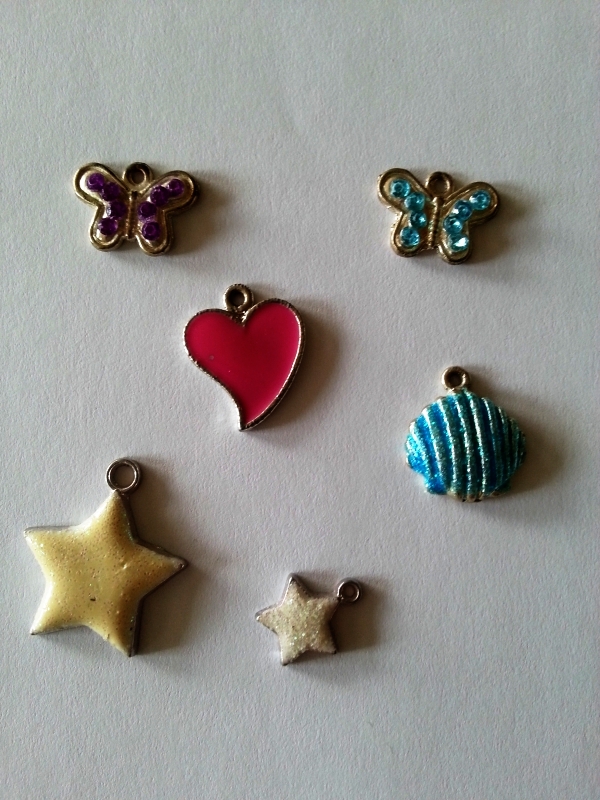
All you need is this: A charm or something to put on your bracelet, thread of any kind (just make sure it's not too thick or thin) and scissors.
Okay, let's get started!
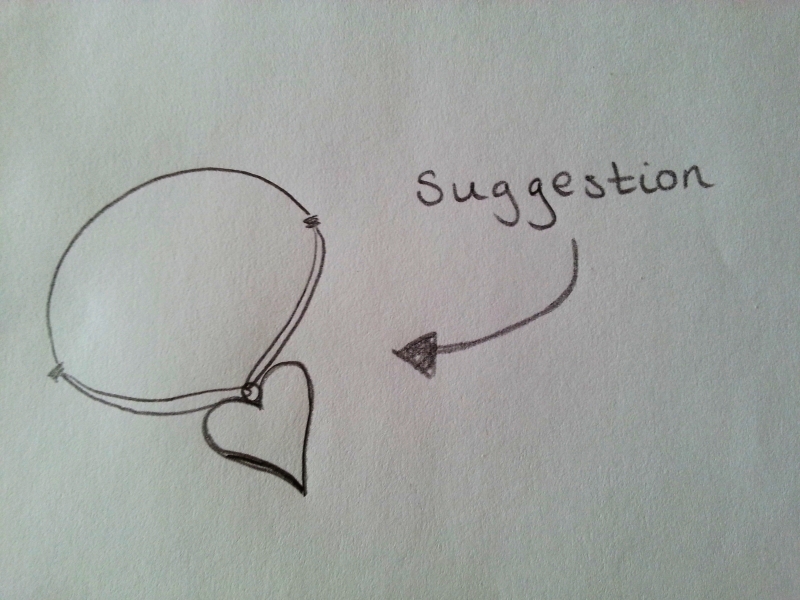
| First, I like to make a little drawing of how I want the result to look like :)
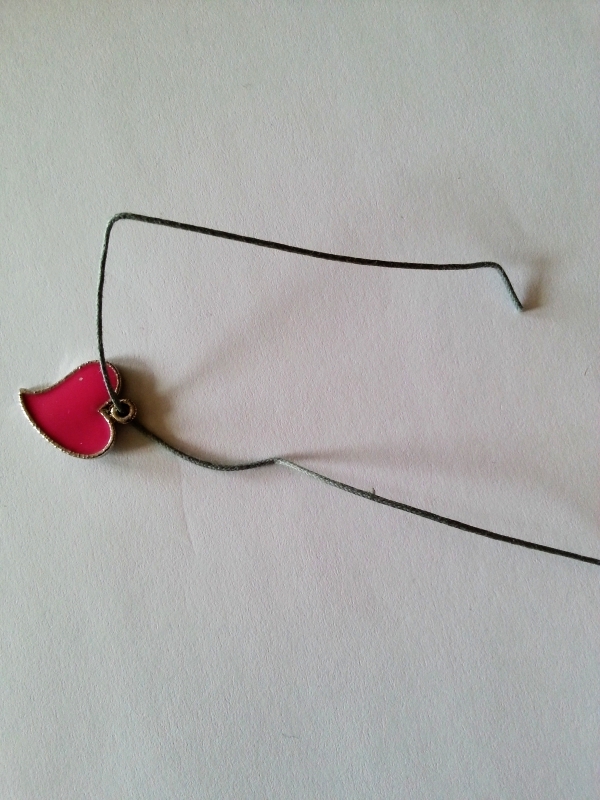
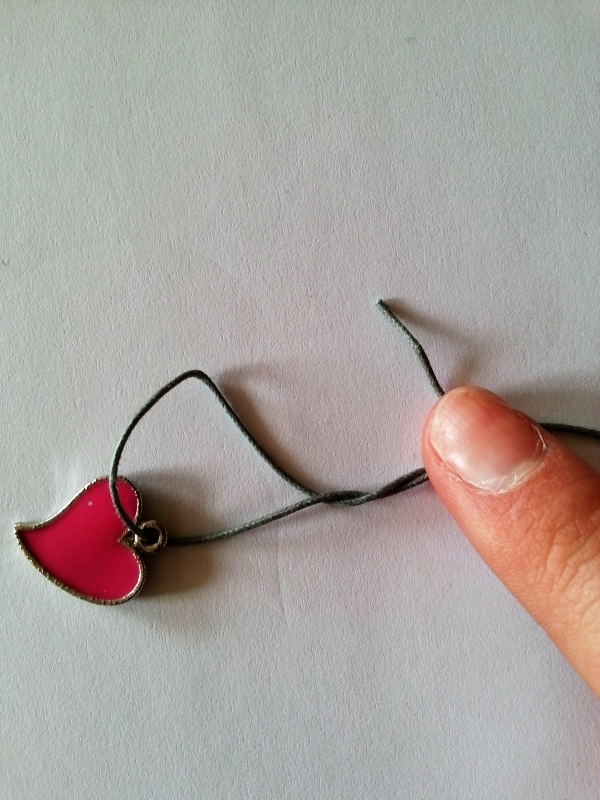
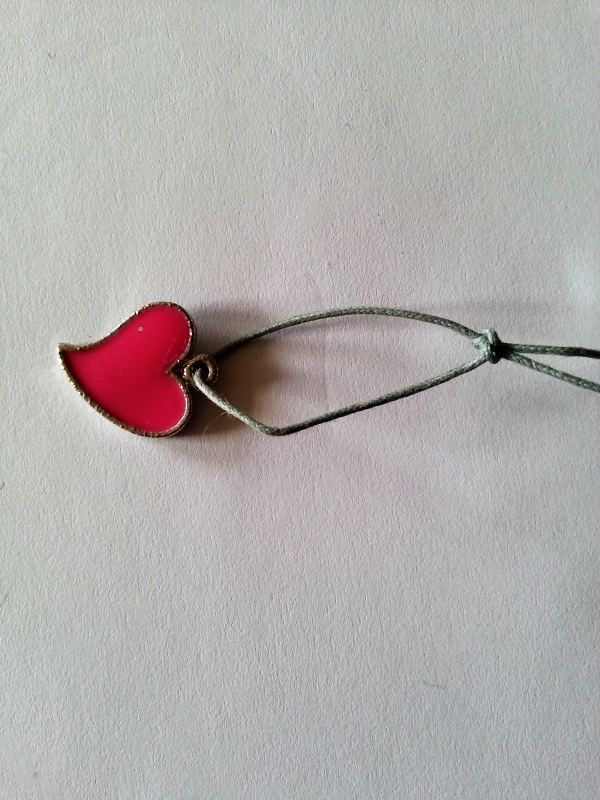
The first thing you do, is that you choose your charm and pull the thread through the hole. | |
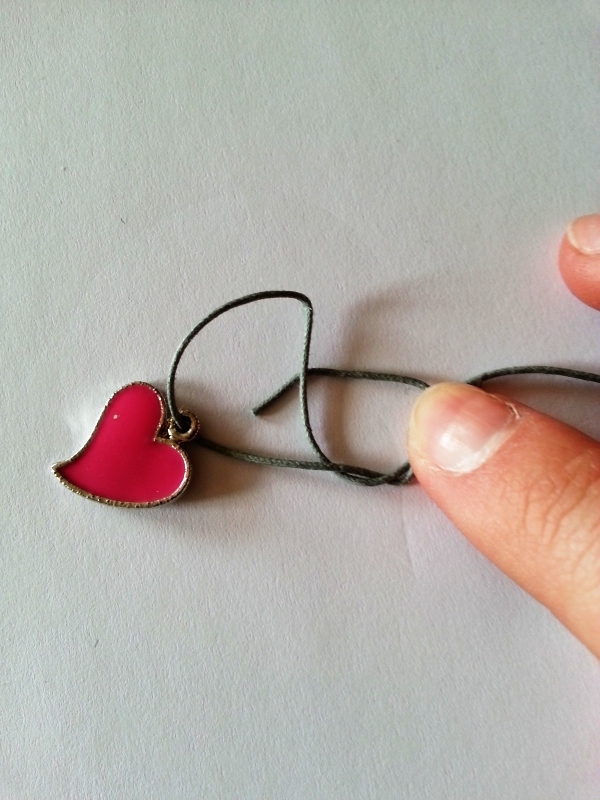
Then you take the end of the thread (the one you just pulled through the hole) and take it around the other end two times. Let the end of the shortest end go up (see pic). Take the shortest end through the opening by the charm. Pull it out and through the new gap the thread just made.
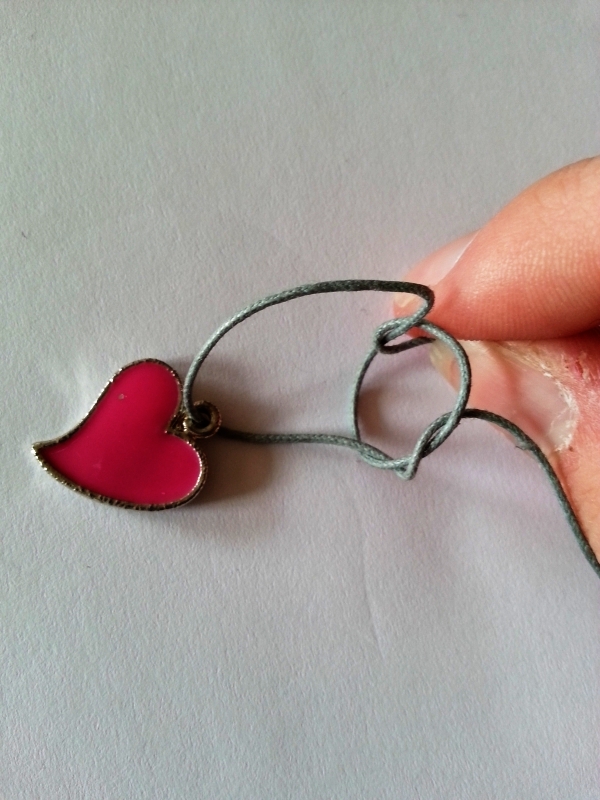
Now pull the short end through and make sure the long end is held straight. Make sure your knot slides :)
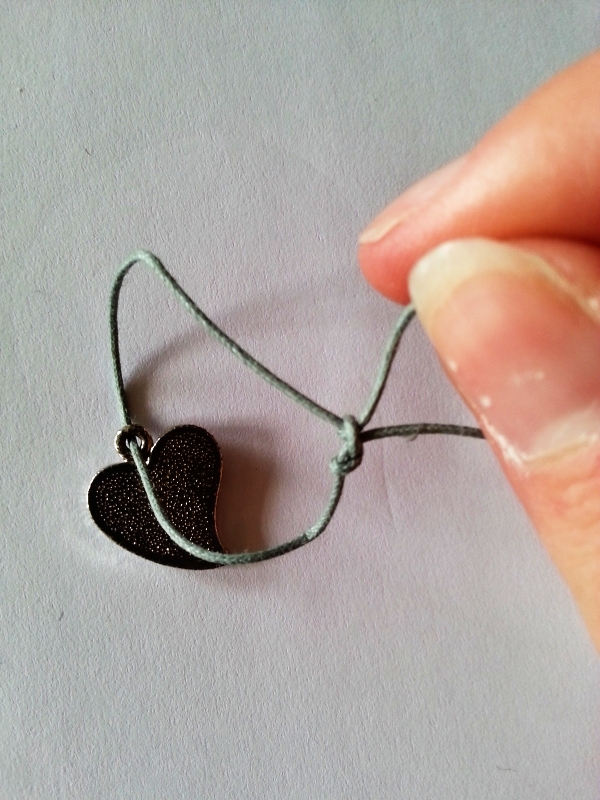
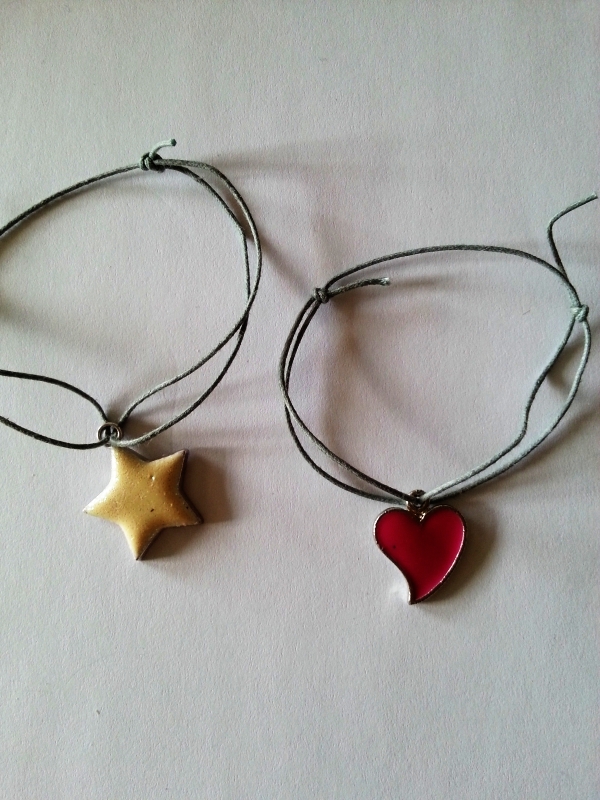
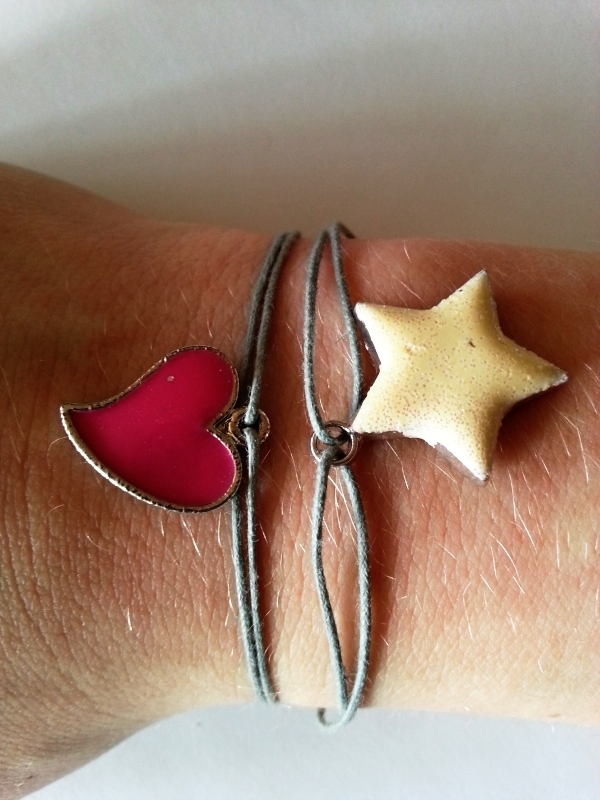
Do the same thing on the other side, cut of the loose ends, and you're good to go!


 RSS Feed